Introduction

Ever wished SAP standard tables would just listen to you? 😄
Good news—SAP Fiori’s Custom Fields and Logic (CFL) app does exactly that.

Instead of modifying standard tables the risky old way, SAP now gives you a clean, upgrade-safe, and UI-friendly option.
So, let’s add custom fields like pros—without breaking anything or losing sleep.

SAP Fiori Custom Fields and Logic app screen

Step 1: Open the Custom Fields App (CFL)

First things first, head to your Fiori Launchpad.

  • Transaction: /UI2/FLP

  • App Name: Custom Fields and Logic

ui5art1

Once inside, click on Custom Fields, then hit the ➕ icon.

✨ Congratulations! You’re officially customizing SAP—safely.

Step 2: Select Business Context

Example, if you want to add a field to Sales related tables, search with sales in F4

Select the appropriate one, example, if it is for VBAP, select sales document Item

Step 3: Enter the label for Field Description

Enter Field name after Identifier, SAP will prefix the identifier to your new field name and suffix with SDI(sales document item) or BDI(Billing document Item) based on the business context that you selected.

Note : Total length of the field shouldn’t be more than 22 char including prefix and suffix.

Step 4: Select type – Data type

If you want a F4 help with values, you need to create a CDS on top of a value table and assign the CDS view name here. Publish the CDS after creation.
Choose code list based CDS view.

If you want a fixed set of values at domain, then choose code list.

If there is no value help needed, choose “text” option for free text entry.

Step 5 : CREATE.

If you want to edit the properties.

Select the field on main screen. It will open the below screen.

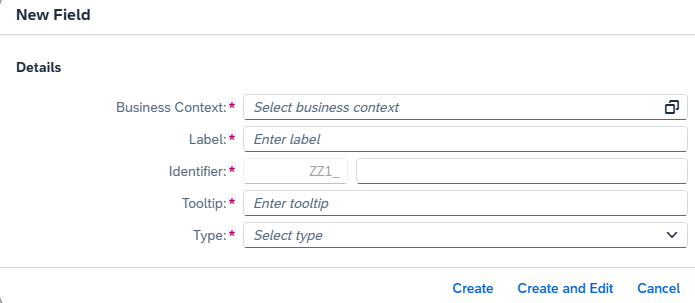
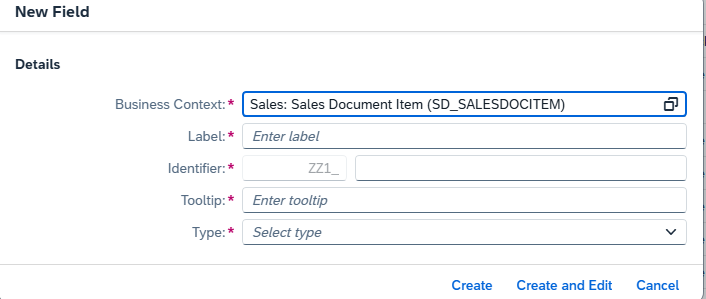
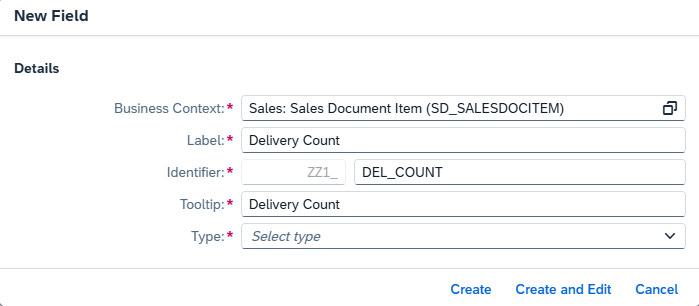
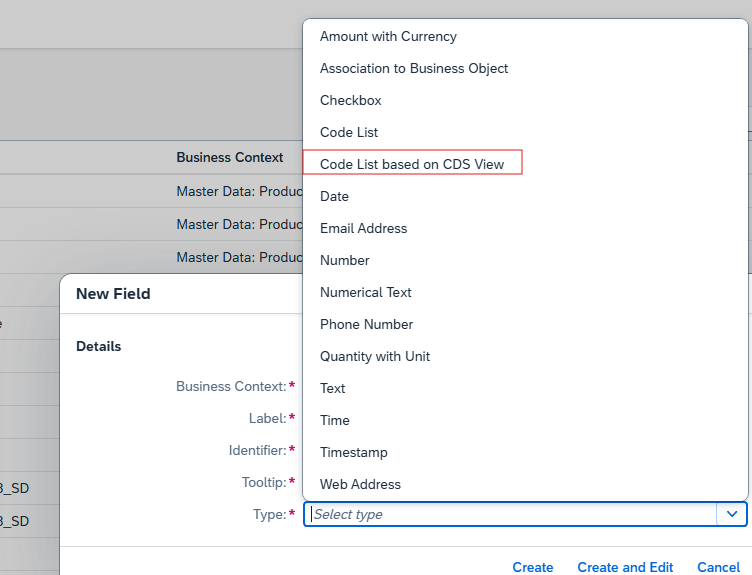
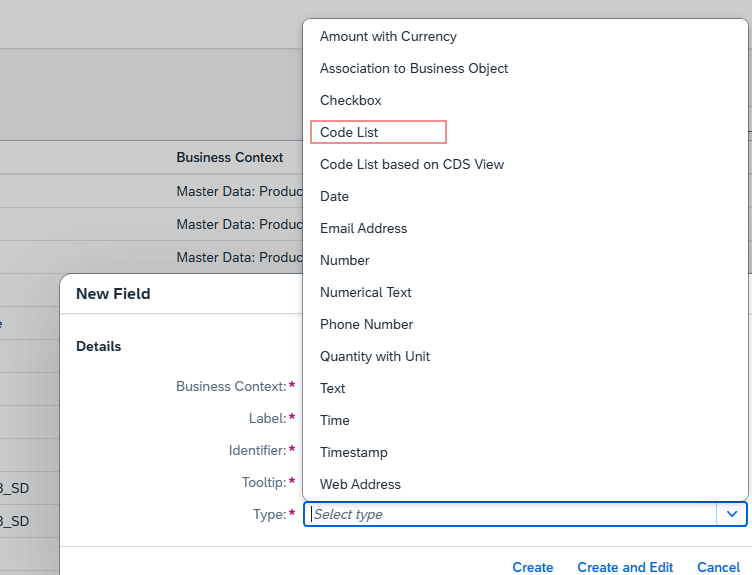
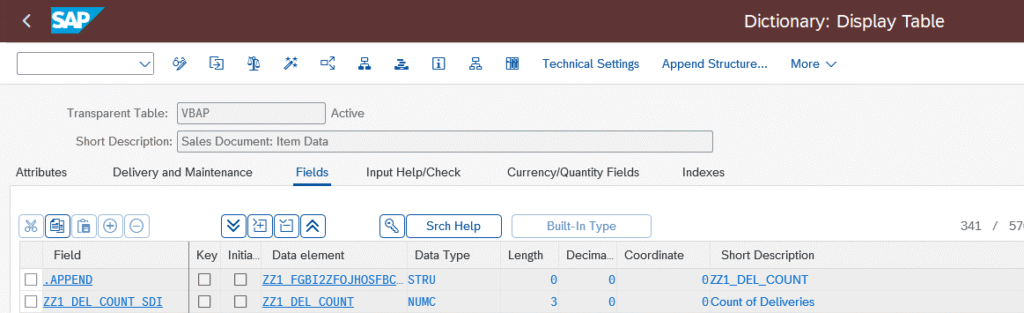
Edit the properties as needed.

If you create the field type as code list, you will find a section called code values under general information tab. enter domain values there.

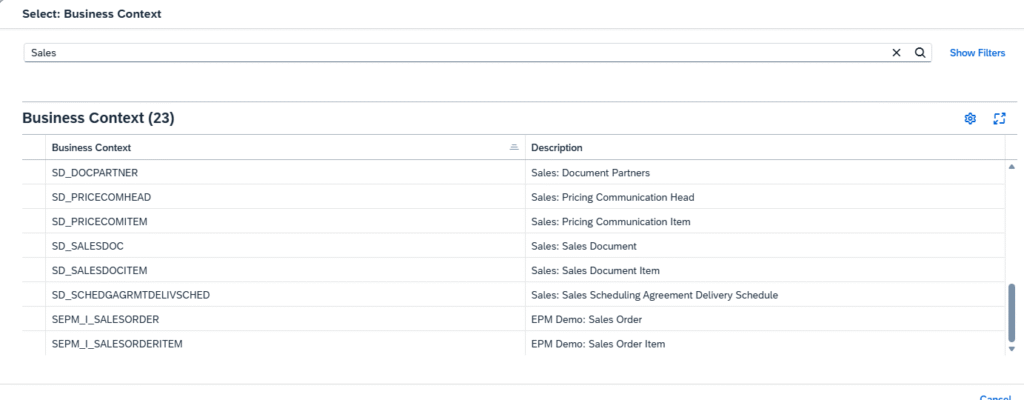
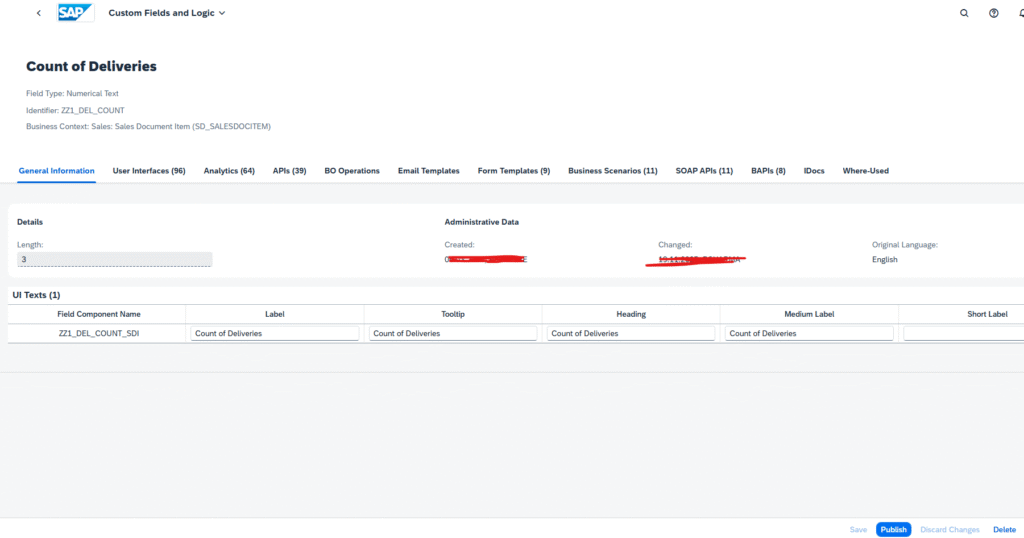
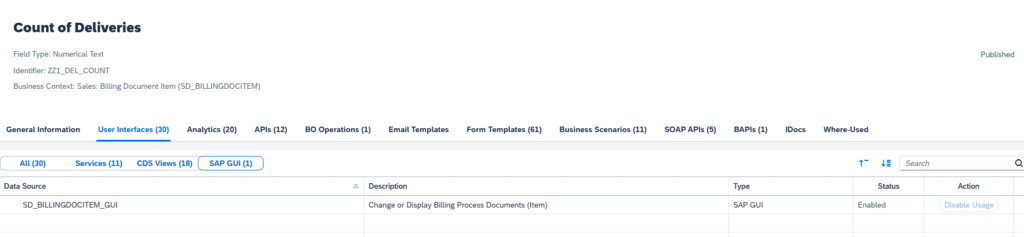
If the same field is needed at billing document item VBRP level.

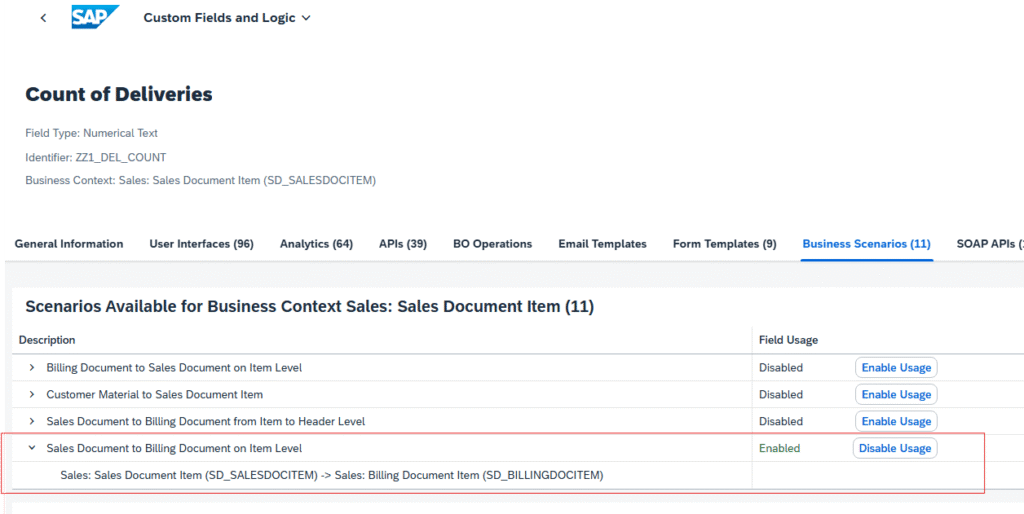
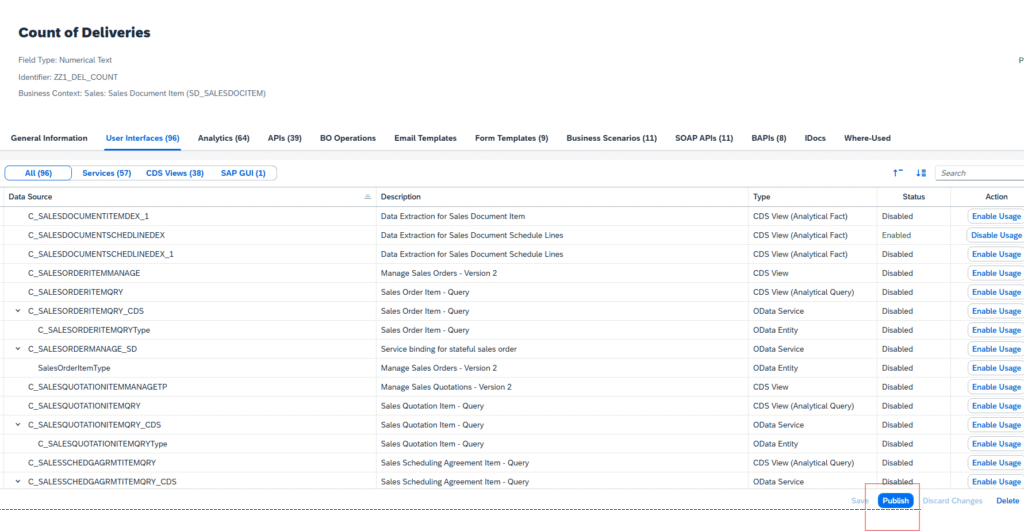
Go to Business Scenarios.

You can add the same field to other tables, only with listed business scenarios.

If the same field is needed to sales related CDS or ODATA interfaces.

Choose User Interfaces: Enable Usage

If you want to add the custom field on screen, enable below Usage.

User Interfaces ->GUI->Enable usage

Step 6 : At last – Publish

After publishing

Verify the fields in backend:

SAP creates Append structure and relevant value tables for each field automatically.

Custom Tab will be created in sales order/billing document at item level.

Step 7 : Transport the changes:

App name: Register extensions for Transport

Create the package in SE80/eclipse.

Select the field and Click on reassign to package.

The field details will be captured in the transport that you created for package.

Once after importing the changes to QA system, for any future changes you can use Assign to transport request option directly.

Final Thoughts

SAP customization doesn’t have to be scary—or boring.
With Fiori Custom Fields, you stay clean, compliant, and confident.

Happy customizing 🚀

Leave a Reply

Your email address will not be published. Required fields are marked *