- April 2, 2026
- Kishore Thutaram
- 0
Introduction
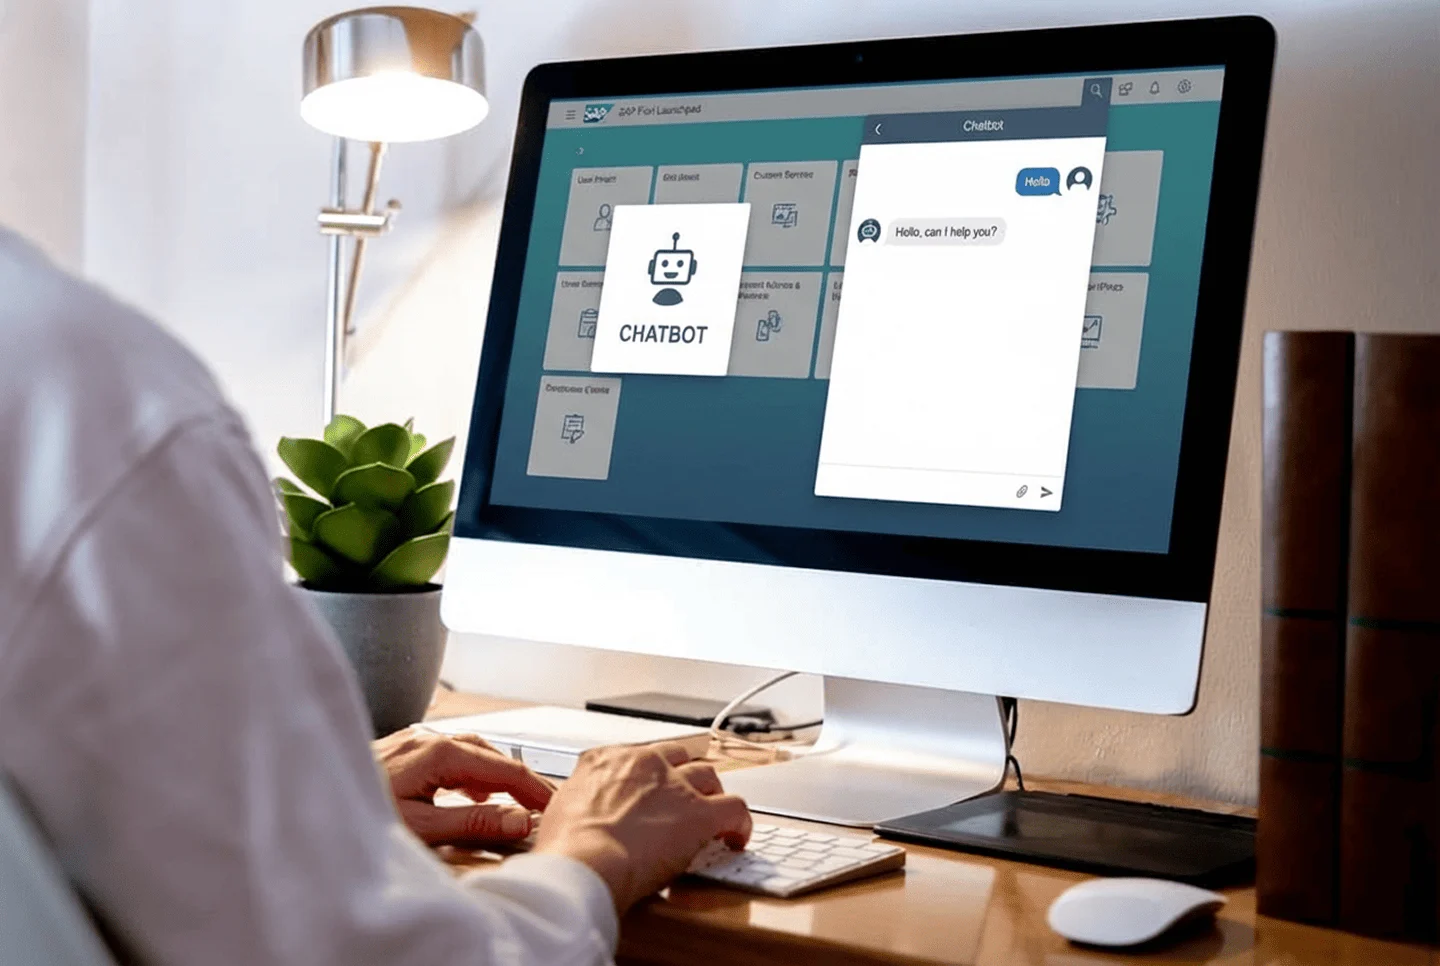
In real-time SAP projects, enhancing user experience inside the Fiori Launchpad is becoming increasingly important. One common requirement is to add a custom button or chatbot directly into the Launchpad header.
This helps users:
- Access support instantly
- Trigger custom workflows
- Integrate external tools (like chatbots or helpdesk systems)
In this guide, we’ll walk through how to implement this using a Shell Plugin in SAP UI5.
Business Scenario
In many enterprise SAP environments, users rely on the Fiori Launchpad as their central workspace. However, standard SAP does not provide direct access to:
- Chat support systems
- AI assistants/chatbots
- Internal helpdesk tools
- Quick-action utilities
Because of this, users often:
- Switch between multiple systems
- Lose productivity
- Face delays in getting support
This situation creates a clear need for embedding a chatbot or custom action button directly into the Launchpad header.
Solution Overview
To solve this, we use a Shell Plugin in SAP UI5, which allows us to extend the Fiori Launchpad UI.
What this solution does:
- Injects a custom button into the header
- Connects it to a chatbot or external URL
- Works across all Launchpad pages globally
Key Components:
- UI5 Freestyle App
Component.jscustomizationsap.ushell.Containerrenderer- BTP deployment (Shell Plugin type)
This is a non-intrusive and scalable solution, widely used in real SAP projects.
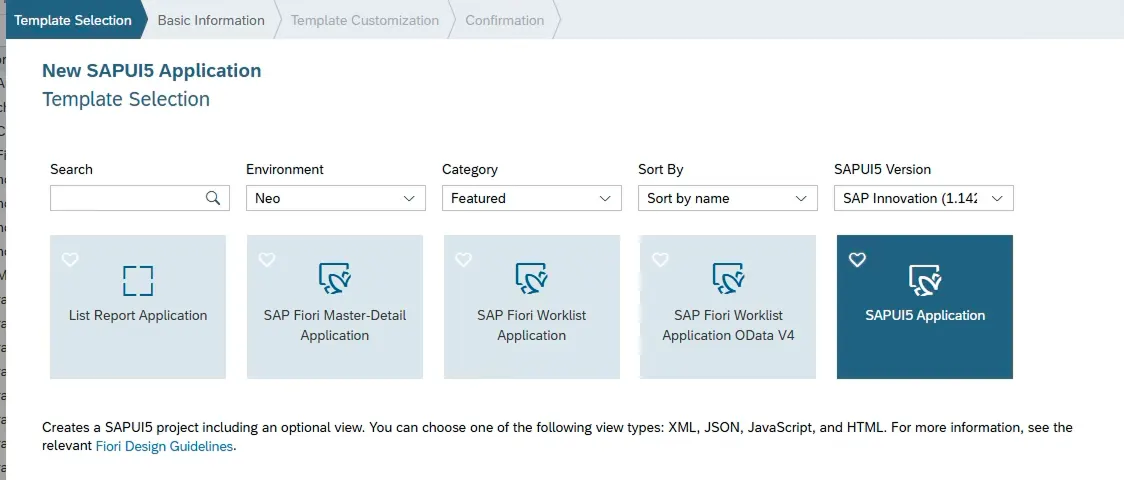
Step 1: Create a New Fiori Application
Start by creating a freestyle SAP UI5 application.
Example:
App Name: livechat
This application will act as your shell plugin, which extends the Fiori Launchpad.
Step 2: Implement Header Button in Component.js
The main logic goes inside your Component.js file. This is where you hook into the Fiori Launchpad renderer and inject your custom button.
Key Concept
We use:
sap.ushell.Container- Renderer API
addHeaderEndItem()method
Sample Code
_createLaunchpadButton: function () {
this._getRenderer().done(function (oRenderer) {
oRenderer.addHeaderEndItem("sap.ushell.ui.shell.ShellHeadItem", {
id: "livechat.button",
icon: "sap-icon://comment",
tooltip: "Chatbot",
press: this._calllivechat.bind(this)
}, true, false);
}.bind(this));
}
This is where many developers struggle — understanding how UI5 interacts with the Launchpad shell.
If you want to debug UI behaviour or event triggers, you can refer to our guide on debugging ABAP programs effectively, which helps track backend and frontend execution together.
Step 3: Handle Button Action
Now define what happens when the button is clicked.
_calllivechat: function () {
window.open("https://your-chatbot-link.com");
}
- Open chatbot UI
- Trigger API
- Navigate to another Fiori app
While triggering external actions like chatbots, ensure your backend logic is optimized — you can follow best practices from our Top ABAP Performance Tuning Techniques guide to avoid unnecessary load.
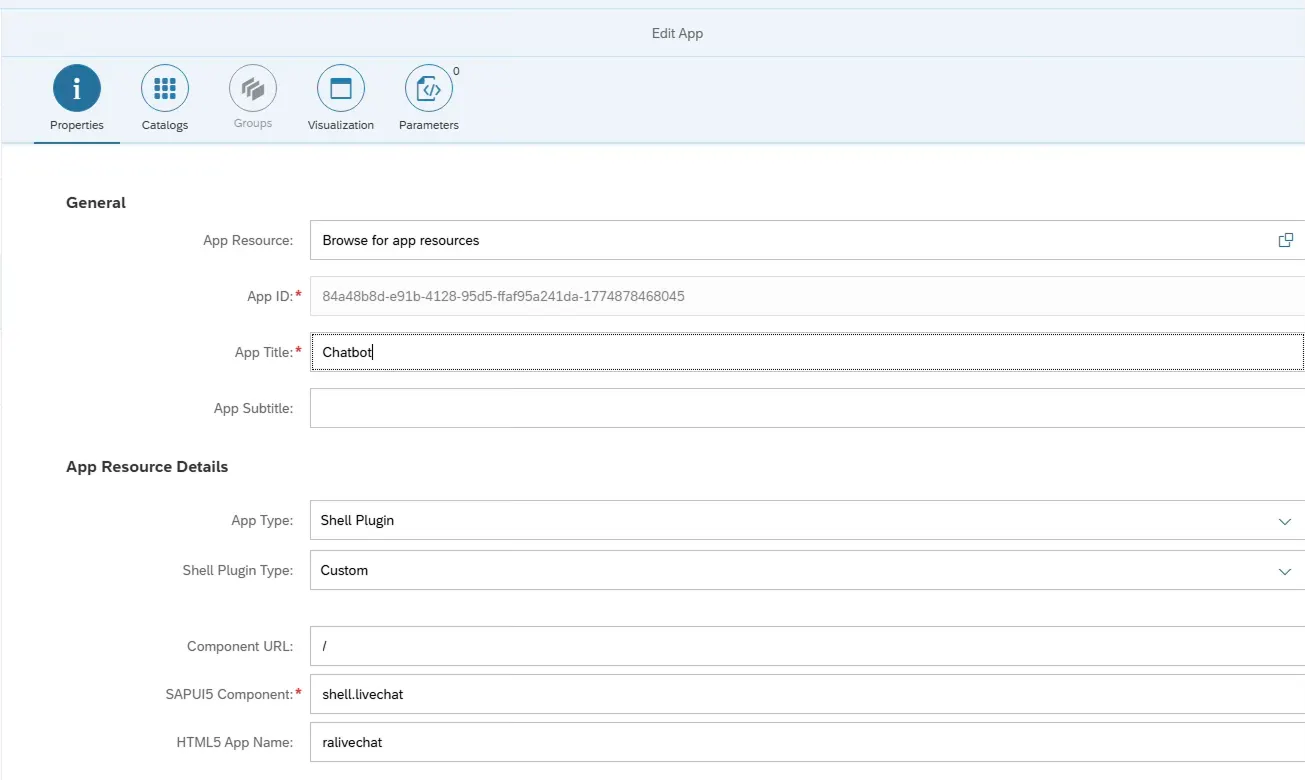
Step 4: Deploy to SAP BTP
Deploy your application to SAP BTP (Business Technology Platform Neo).
Configuration:
- App Type → Shell Plugin
- Plugin Type → Custom
- UI Component → Your App ID
- HTML5 App Name → livechat
Step 5: Configure in Fiori Launchpad - if the BTP environment is not Neo
If you’re working in S/4HANA:
Use transaction.
/UI2/FLPD_CUST
Fiori Launchpad Tile Configuration
| Tile Type | Semantic Object | Action |
|---|---|---|
| Static Tile | Shell | Plugin |
Fiori Launchpad Tile Configuration
| Application Type | URL | ID |
|---|---|---|
| SAPUI Fiori App | URL of the App index file (/sap/bc/../livechat/webapp) |
Step 6: Save and Publish
Once configured:
- Save your tile
- Assign catalog
- Publish
Your chatbot button will now appear in the Fiori Launchpad header

Complete Code
sap.ui.define([

"sap/ui/core/UIComponent",

"sap/ui/Device",

"shell/ralivechat/model/models",

"sap/ui/model/json/JSONModel",

"sap/ui/model/odata/ODataModel",

"sap/ui/model/Filter",

"sap/ui/model/FilterOperator",

"sap/ui/model/Sorter",

"sap/ui/core/routing/History",

"sap/ui/model/odata/v2/ODataModel"

], function (UIComponent, Device, models, JSONModel, ODataModel, Filter, FilterOperator, Sorter, History) {

"use strict";

return UIComponent.extend("shell.ralivechat.Component", {

metadata: {

manifest: "json"

},

/**

* The component is initialized by UI5 automatically during the startup of the app and calls the init method once.

* @public

* @override

*/

init: function () {

// call the base component's init function

UIComponent.prototype.init.apply(this, arguments);

// enable routing

this.getRouter().initialize();

this._createLaunchpadButton();


// set the device model

this.setModel(models.createDeviceModel(), "device");

},

_getRenderer: function () {

var oDeferred = new jQuery.Deferred();

this._oShellContainer = jQuery.sap.getObject("sap.ushell.Container");

if (!this._oShellContainer) {

oDeferred.reject("Illegal state: shell container not available");

} else {

var oRenderer = this._oShellContainer.getRenderer();

if (oRenderer) {

oDeferred.resolve(oRenderer);

} else {

this._onRendererCreated = function (oEvent) {

oRenderer = oEvent.getParameter("renderer");

if (oRenderer) {

oDeferred.resolve(oRenderer);

} else {

oDeferred.reject("Illegal state: shell container not available");

}

};

this._oShellContainer.attachRendererCreatedEvent(this._onRendererCreated);

}

}

return oDeferred.promise();

},

_createLaunchpadButton: function () {

this._getRenderer().fail(function (sErrorMessage) {

jQuery.sap.log.error(sErrorMessage, undefined, "shellExtended.shellExtend.Component");

}).done(function (oRenderer) {

oRenderer.addHeaderEndItem("sap.ushell.ui.shell.ShellHeadItem", {

id: "shellExtend.shellExtend",

icon: "sap-icon://comment",

tooltip: "Chatbot",

press: this._calllivechat.bind(this)

}, true, false);

}.bind(this));

},

_calllivechat: function (oEvent) {

<Call your Chatbot Link>

}

});

});
Real-Time Use Cases
This approach is widely used in real projects for:
- Chatbot integrations
- Ticketing systems
- Analytics shortcuts
- Help & support buttons
Common Mistakes Developers Make
1. Shell Container Not Available
Error:sap.ushell.Container is undefined
Reason:
App is not running inside Fiori Launchpad
Fix:
- Always test inside Launchpad (not standalone)
- Ensure proper FLP sandbox or deployment
2. Button Not Appearing in Header
Reason:
- Renderer not initialized
- Plugin not configured correctly
Fix:
- Use
_getRenderer()properly (as in your code) - Verify plugin type = Shell Plugin (Custom) in BTP
3. Tile Not Visible in Launchpad
Reason:
- Catalog/role not assigned
Fix:
- Assign catalog to user role
- Republish Launchpad content
Frequently Asked Questions
What is a Shell Plugin in SAP Fiori?
A Shell Plugin is a UI5 extension that allows adding custom features like buttons or integrations globally in the Fiori Launchpad.
Can I add multiple buttons in the header?
Yes, you can use addHeaderEndItem() multiple times with unique IDs.
Does this work in S/4HANA and BTP?
Yes. Configure via /UI2/FLPD_CUST in S/4HANA or deploy as Shell Plugin in BTP.
Final Thoughts
Adding a chatbot or custom button to the Fiori Launchpad header is a powerful way to enhance user interaction.
With just a Shell Plugin and a few lines of UI5 code, you can:
- Extend standard SAP functionality
- Improve usability
- Integrate external systems seamlessly

SAP Solution Architect | 16+ Years’ Experience in SAP | Sharing Practical SAP Knowledge | Engineering Graduate with Expertise in SAP Architecture